
That Pit-in-Your-Stomach Feeling After a Storm
We’ve all been there. You’re sitting on the porch after one of those classic Texas spring thunderstorms—the ones where the wind sounds like a freight train and the hail is big enough to make you worry about the car. You look up at the eaves and wonder: Is everything okay up there?
It’s a stressful thought. Your roof is the most expensive “shield” your home has, but because it’s out of sight, it’s usually out of mind until you see a yellow ring forming on your living room ceiling. Honestly, the thought of calling a roofer can feel like opening a can of worms. You worry about being sold something you don’t need, or worse, you worry they’ll find a massive problem you aren’t ready to pay for.
But here’s the thing—you don’t have to be a professional to spot the early warning signs. In fact, you don’t even have to get on a ladder if you don’t want to. I’m going to show you how to do a “ground-level” inspection that can save you thousands down the road. It’s about being proactive so you can sleep through the next storm without that nagging “what if” in the back of your mind.
The Problem: Why Texas Roofs Age in Dog Years
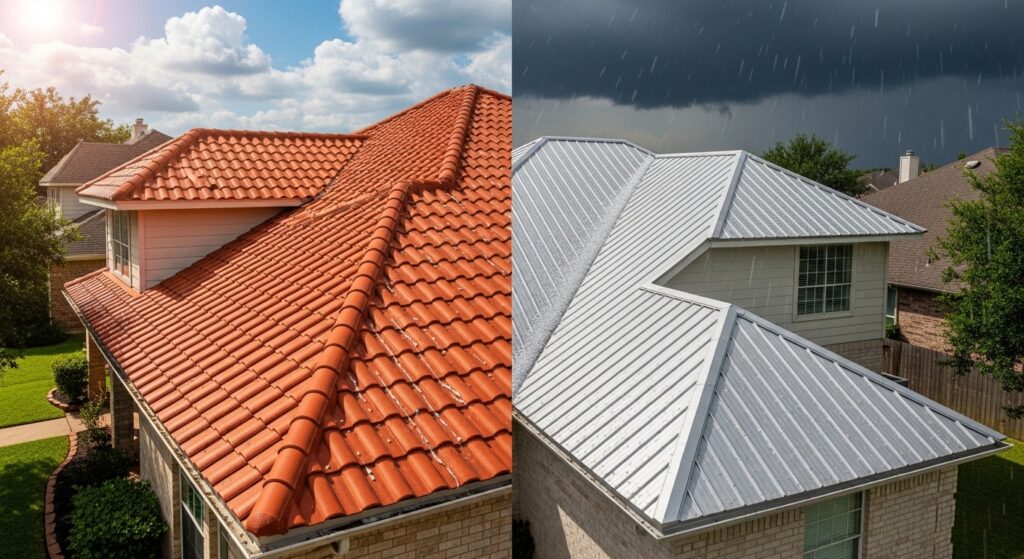
Living in Texas is a unique kind of challenge for a house. Our roofs don’t just “sit there.” They’re in a 24/7 wrestling match with the elements. If you’re in Houston, it’s the humidity and the slow-cooker heat. If you’re in North Texas or the Panhandle, it’s the hail and the wind that could strip paint off a barn.
When a roof starts to fail in our climate, it usually doesn’t happen all at once. It’s a slow creep. A shingle curls here, a nail pops there, and suddenly the causes for shingles to curl and crack become your reality. If you ignore these small “imfections,” the Texas sun will bake them until they become entry points for water.
The real danger isn’t the giant hole from a fallen limb; it’s the tiny leak that drips onto your insulation for six months before you ever see it. By the time you notice the leak inside, you’re often dealing with mold and rotted rafters. That’s the “hidden tax” of being a homeowner, but it’s one you can avoid if you know what to look for.
The Deep Dive: What’s Actually Happening Up There?
Before we get to the checklist, we need to understand the “Big Three” roof killers in Texas.
1. Thermal Shock
Think about your roof in July. It might be 100°F outside, but your shingles are easily hitting 150°F or more. Then, a sudden afternoon thunderstorm dumps 70-degree rain on them. That rapid temperature drop causes the shingles to contract violently. Over time, this makes them brittle and prone to cracking.
2. Granule Loss (The “Sunscreen” Problem)
Those little sand-like pebbles on your shingles aren’t just for looks. They’re the “sunscreen” that protects the asphalt from UV rays. Once those granules wash away, the sun starts to “cook” the underlying material. If you see a lot of these in your gutters, your roof is basically “balding.”
3. High-Wind Creep
Texas wind is relentless. It doesn’t always blow shingles off; sometimes it just lifts them enough to break the sealant strip. Once that seal is broken, the shingle “flaps” in the wind like a loose page in a book, letting rain blow right underneath it.
Solutions: How to Inspect Like a Pro (Without the Risk)
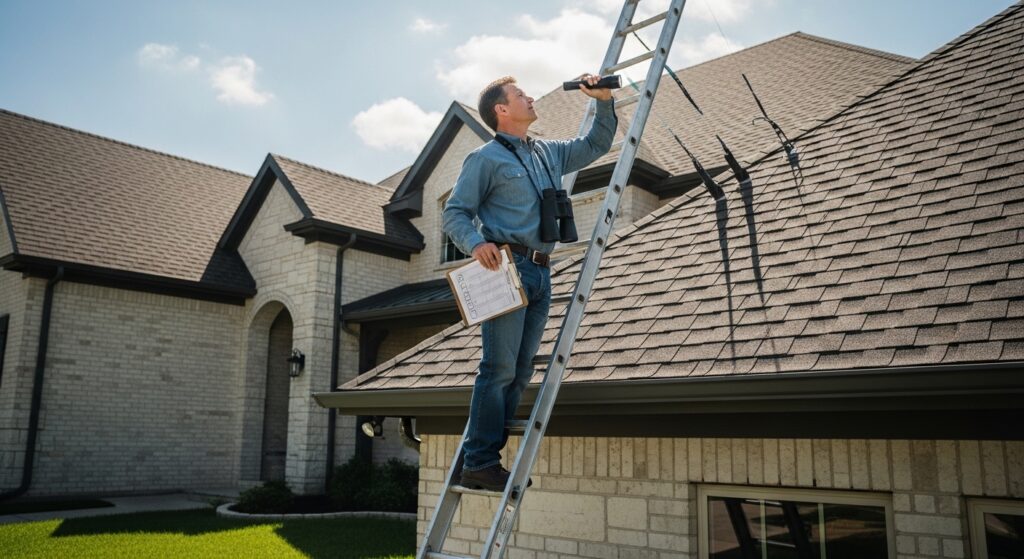
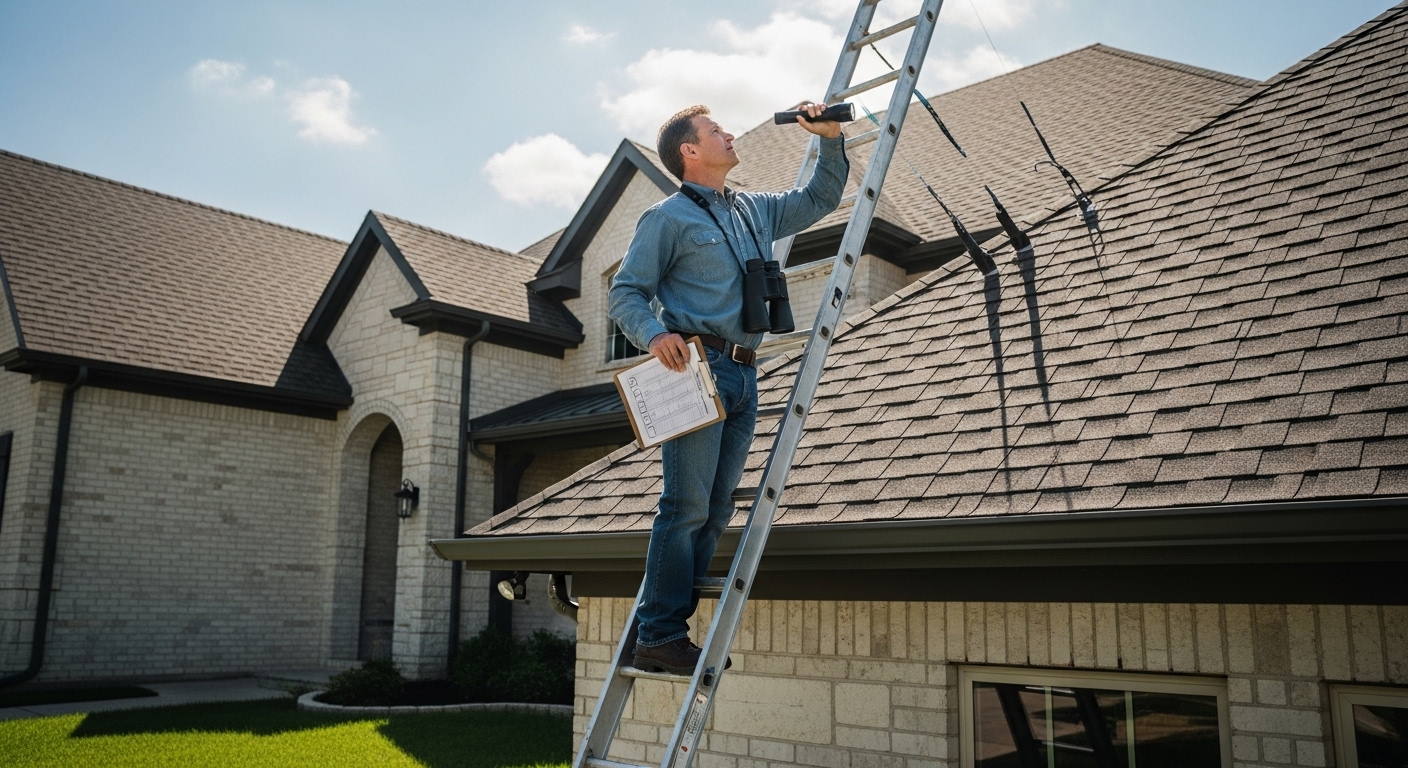
I’m a big believer in “Safety First.” You don’t need to be a weekend warrior on a 20-foot ladder to see 90% of what matters. Grab a pair of binoculars and a flashlight—that’s your “inspection kit.”
The “Ground-Level” Binocular Walk
Start by walking across the street. Look at the planes of the roof. Are the lines straight? If you see “waves” or sagging, that’s a sign of structural moisture underneath. Use the binoculars to zoom in on the “valleys” (where two roof sections meet). These are the busiest highways for water, and they’re usually the first places to leak.
The Attic “Light Check”
Wait for a bright, sunny day and head into your attic with the lights off. Look up. If you see tiny pinpricks of daylight, you’ve got a problem. Even if you don’t see light, look for dark stains on the wood or “crusty” white deposits on the rafters. That’s the ghost of water that’s already been there.
Actionable Tips: Your Homeowner’s Roof Checklist
Here is exactly what I would look for if I were walking around my own house this weekend.
- The Gutter “Coffee Ground” Test: Check the exits of your downspouts. If there’s a pile of granules that looks like coffee grounds, your shingles are nearing the end of their life.
- The Pipe Boot Check: Look at the rubber seals around the pipes sticking out of your roof. In Texas, these rubber “boots” dry out and crack long before the shingles do. A $20 rubber seal can prevent a $2,000 ceiling repair.
- Identify “Bald Spots”: Look for dark, shiny, or smooth patches on the roof. This is where the granules are completely gone, and the asphalt is exposed.
- Search for the “Frowns”: Look at the bottom edges of the shingles. If they’re turning up at the corners (curling) or the middle is humping up (clawing), they’ve been cooked by the sun.
- The Chimney Flash Dance: Check the metal flashing around the chimney. If it’s pulling away or the caulk looks like cracked desert dirt, water is definitely getting in behind it.
- Wall Intersections: Look where the roof meets a wall (like on a two-story home). If the “step flashing” looks rusty or bent, that’s a prime leak spot.
- Missing or Displaced Shingles: This one is obvious, but look for “gaps” in the pattern. Sometimes shingles just slide down a few inches—they don’t always fall off.
FAQ: What Homeowners Ask Me Most
Q: How often should I actually do this? Honestly, twice a year is perfect. Once in the spring before the big storms hit, and once in the fall after the summer heat has done its worst. And always, always do a quick walk-around after any storm with hail or 50+ mph winds.
Q: Can I just power wash the moss or black streaks off my roof? Please, for the love of your wallet, don’t power wash your roof. You’ll blast the granules right off and turn a 20-year roof into a 5-year roof in about twenty minutes. Those black streaks are usually algae—they’re ugly, but they aren’t an emergency.
Q: If I find damage, do I have to replace the whole thing? Not necessarily! If the shingles are still flexible and you just have a few damaged spots or a cracked pipe boot, a repair is often all you need. The trick is catching it before the wood underneath starts to rot.
Conclusion: Take Back the Power
Look, I know roof stuff can feel overwhelming. But doing this simple walk-around twice a year puts you in the driver’s seat. Instead of being the homeowner who gets blindsided by a major leak during a hurricane, you’re the one who noticed a cracked seal in May and got it fixed for a couple of hundred bucks.
Think of it like checking the oil in your car. It’s a five-minute habit that keeps the “engine” of your home running smoothly.
If you’ve done your walk-around and found some things that make you nervous—maybe some of those “balding” spots or a pipe boot that looks like it’s seen better days—don’t panic. Just get an expert’s eyes on it. Most of the time, a little bit of maintenance today is all it takes to keep your “shield” strong for years to come.
Want a professional second opinion? If your checklist has more “red flags” than you’re comfortable with, or if you just want someone with a drone or a high-reach ladder to take a closer look, let’s chat. We’ll give you an honest assessment of what’s going on up there so you can get back to enjoying your home—rain or shine.
You’ve got this. Now, go grab those binoculars!