
The Big Transformation What’s Actually Happening Outside Your Door?
Let’s be real for a second—deciding to pull the trigger on a full exterior remodeling project is a bit like deciding to run a marathon. You’re excited about the finish line (and the photos!), but you’re also probably a little terrified of the “middle part.”
I’ve talked to so many homeowners who feel like they’re standing at the edge of a cliff. You know the house needs work. Maybe the siding is warping, the roof has seen better days, and the windows are so drafty you might as well just leave them open. But the thought of crews, noise, and literal tons of debris in your driveway? That’s enough to make anyone hit the “snooze” button on their home goals.
But here’s the thing: it doesn’t have to be a mystery. When you know exactly what to expect during a full exterior remodel, the “messy middle” feels less like chaos and more like progress. We’re going to walk through the stages together, from the first dumpster arriving to that final, satisfying walkthrough.
And look, it is going to be loud. There will be a lot of coffee involved. But by the end, your home is going to look—and perform—better than it ever has.
1. The Pre-Game: Staging and Prep Work
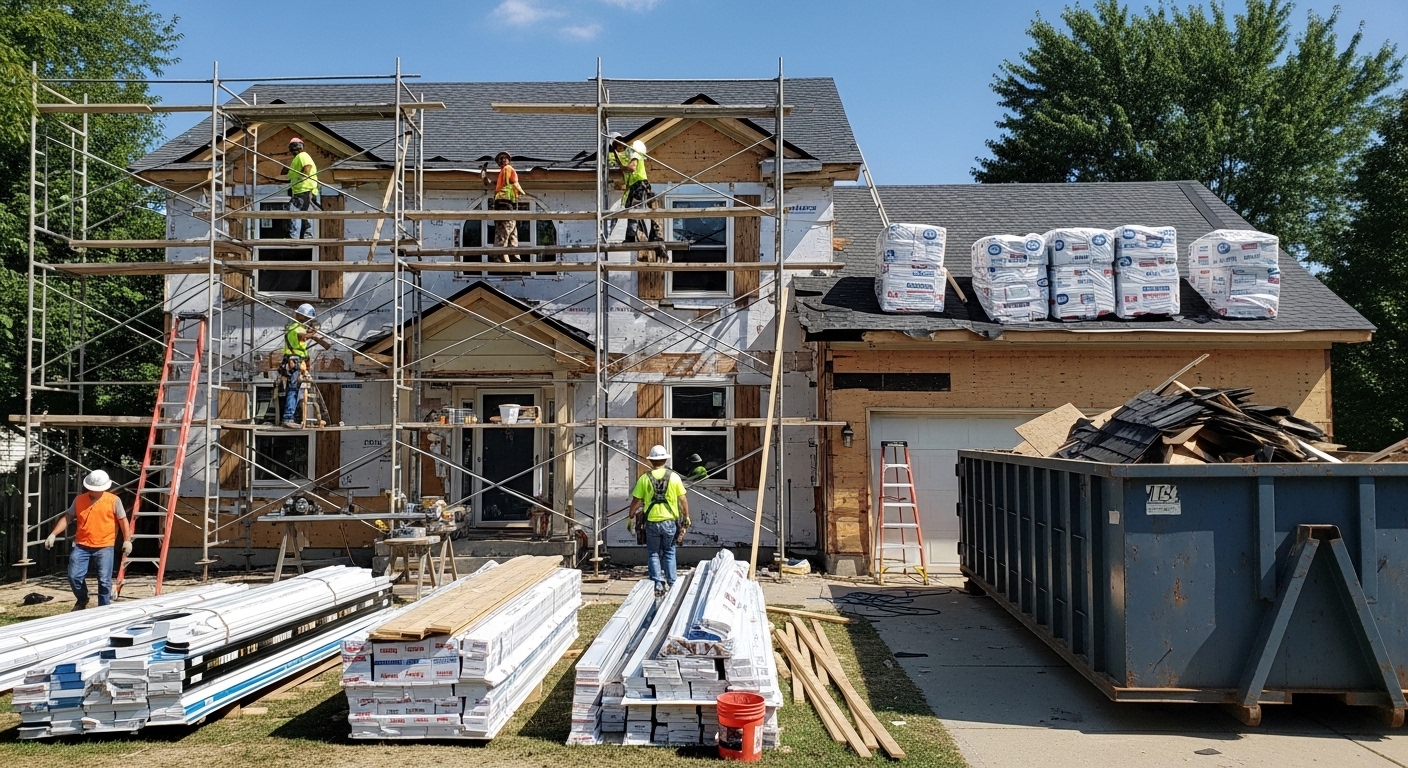
Before a single hammer swings, your yard is going to turn into a mini construction hub. This is the stage that catches people off guard because, suddenly, your quiet cul-de-sac feels like a logistics center.
Your contractor will usually coordinate the delivery of materials—shingles, siding panels, rolls of house wrap—and, of course, the dreaded dumpster. I always tell people to move their cars out of the garage and away from the driveway before this happens. You don’t want to be the person blocked in by three tons of roofing shingles when you have to get the kids to practice.
Real-world scenario: I once saw a homeowner forget to move their lawn furniture. By noon on Day One, their favorite Adirondack chairs were buried under a protective tarp and three pallets of vinyl siding. Save yourself the headache—clear the “splash zone” around your house early.
Quick Tip: Think about your pets. The constant banging can stress out even the chillest golden retriever. It might be worth a few days at doggy daycare or setting up a “quiet room” with a white noise machine in the basement.
2. The “Ugly” Phase: Demolition and Discovery
Honestly, this is the part where most people have a minor “What have I done?” moment. The crews will start stripping away the old layers. If you’re doing a full overhaul, that means shingles come off, old siding gets ripped away, and maybe those ancient windows are popped out.
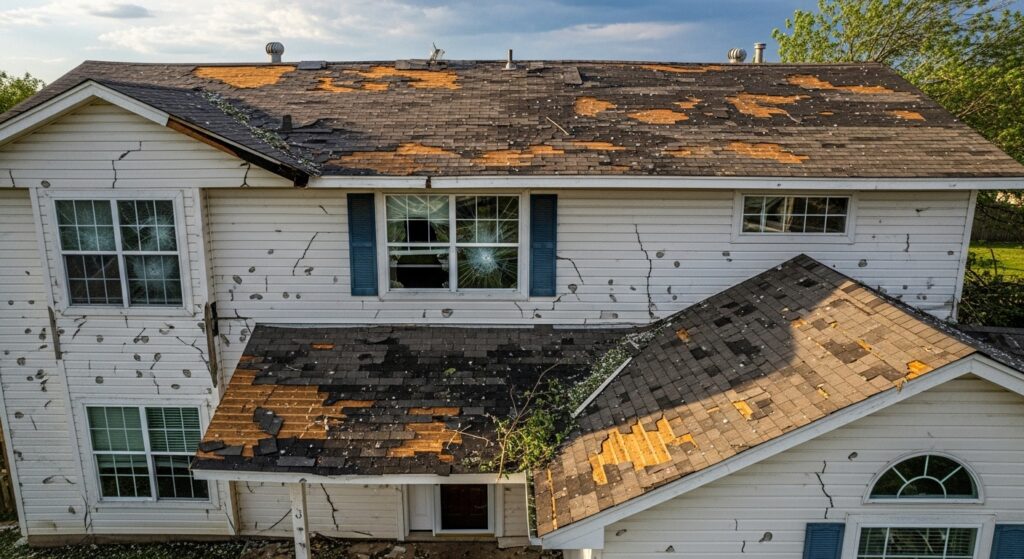
This is also where the “surprises” live. Once the “skin” of your house is gone, we get to see the “bones.” Sometimes we find rotted sheathing or old water damage that was hidden for years. It’s better to find it now than to cover it up, but it can feel a bit overwhelming when your contractor calls you over to look at a soft spot in the wood.
Real-world scenario: Imagine peeling back old cedar siding only to find that a family of squirrels had a luxury condo in your insulation. It happens! A good team will show you the issue, explain the fix, and keep moving.
Quick Tip: Don’t panic if you see a bit of rot. It’s standard in major remodels. Just make sure you’ve set aside a “contingency fund” (usually about 10%) so these discoveries don’t break your heart or your bank account.
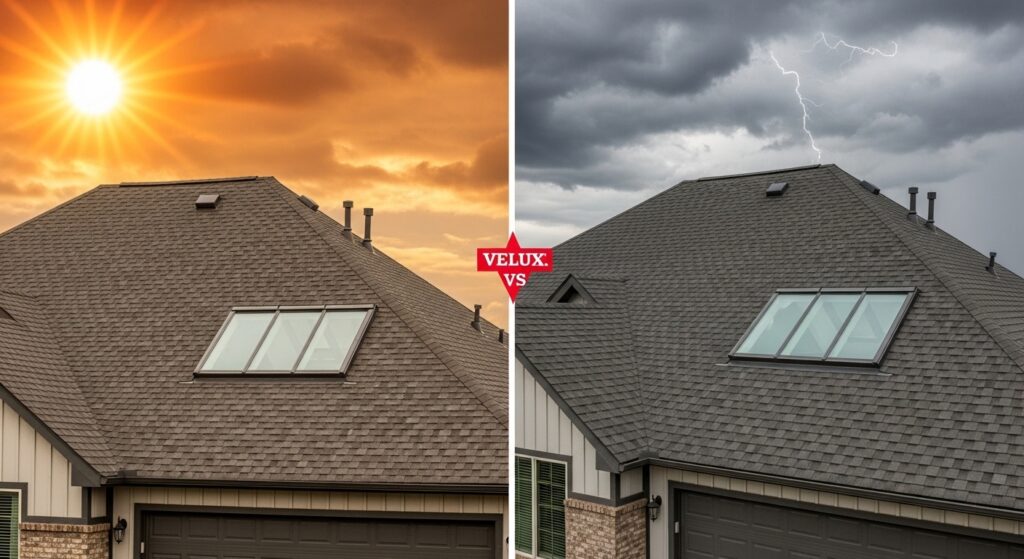
3. The Envelope: Roof and House Wrap
Once the old stuff is gone and the repairs are made, we start building back up. Usually, the new roof installation happens first. Why? Because you want the house “dried in” as soon as possible. If a surprise rainstorm hits, you want that waterproof barrier at the top doing its job.
After the roof, the walls get a layer of house wrap. It looks like your house is being gift-wrapped in giant white or green sheets. This is the unsung hero of your remodel—it’s what keeps the moisture out and the energy bills down.
Real-world scenario: You’ll notice the house feels different almost immediately. Even before the pretty siding goes on, that house wrap starts cutting down on the “whistling” sounds of the wind through the old wall cavities.
Quick Tip: If you’re consideringskylight installation, this is the moment. It’s much easier to integrate them while the roof is being stripped than to try and add them later.
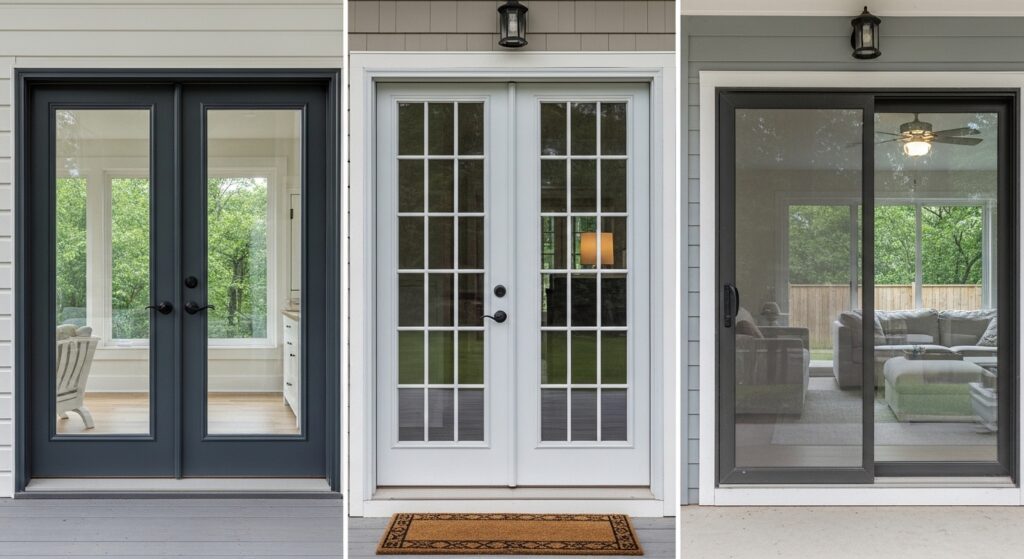
4. Windows and Doors: The Eyes of the Home
If you’ve ever sat near a window in February and felt a literal breeze, you know why this stage is a game-changer. Replacing windows and doors usually happens right around the time the house wrap is finished but before the final siding is installed.
This part of the process is actually pretty fast, but it’s invasive. Crews will be inside your house to set the new units and trim them out. It’s the one part of an “exterior” remodel that feels very “interior.”
Real-world scenario: You might have five guys in your living room at 8:00 AM. It’s a good idea to pull back curtains and move fragile vases away from the windows a day or two before they arrive.
Quick Tip: Check your window locks the night the installers finish. Sometimes in the rush to get everything “water-tight” before they leave, a latch might need a quick adjustment.
5. The Facade: Siding and Trim
This is the “Extreme Home Makeover” moment. When the siding installation begins, the personality of your home finally emerges. Whether you went with HardiePlank, vinyl, or stone veneer, this is the stage where the curb appeal skyrockets.
It’s a meticulous process. They’re measuring, cutting, and leveling every single piece. You’ll hear the constant pop-pop-pop of nail guns and the whine of a miter saw. It’s a symphony of progress, but it’s definitely the longest phase of the project.
Real-world scenario: You’ll start seeing neighbors stop their cars to stare. It’s okay to feel a little proud! Just watch out for stray nails in the grass—even with the best crews, a few always manage to escape the magnets.
Quick Tip: If you’re doing a specific color of trim, see if you can get a “touch-up kit” from the crew. It’s great to have on hand for when you inevitably bump the house with a ladder three years from now.
6. The Finishing Touches: Gutters and Clean-up
We’re in the home stretch! Once the siding is up, the gutter and downspout services team comes in. This is the “jewelry” of the house. New gutters don’t just look sharp; they protect that massive investment you just made by moving water away from your foundation.
Then comes the “big clean.” The dumpster is hauled away, the magnetic rakes come out to find those stray nails, and the tarps are folded up.
Real-world scenario: You’ll be amazed at how much bigger your driveway looks once the dumpster is gone. It’s like the house can finally breathe again.
Quick Tip: Walk your perimeter barefoot after you think they’re done. Just kidding—don’t do that. But do a slow walk-around in sneakers to make sure no debris was missed in the bushes.
Remodel Phase Comparison
| Phase | Duration (Avg) | Noise Level | Interior Access Needed? |
| Prep/Staging | 1-2 Days | Moderate | No |
| Demolition | 2-4 Days | High | No |
| Roofing | 1-3 Days | Very High | No |
| Windows/Doors | 2-5 Days | Moderate | Yes |
| Siding/Trim | 1-2 Weeks | Moderate | No |
| Gutters/Clean-up | 1-2 Days | Low | No |
Key Takeaways for a Saner Remodel
- Communication is King: Talk to your project manager every morning. A simple “What’s the goal for today?” goes a long way.
- Expect the Unexpected: Budget 10% extra for the “discovery” phase. If you don’t use it, hey—new patio furniture!
- Clear the Decks: Move your cars, your grill, and your garden gnomes. Give the crew room to work.
- Protect the Indoors: The vibration from hammers can shake pictures right off your interior walls. Take down the family portraits for a week.
- The “Messy Middle” is Temporary: It looks like a war zone on Day 3, but it will look like a magazine cover by Day 20.
Ready to Fall in Love With Your House Again?
Look, I know a full exterior remodel feels like a mountain. It’s a big investment, and it’s a disruption to your “normal.” But when you pull into your driveway and see a home that’s beautiful, tight, and protected, you’ll realize it was worth every early morning and every cup of coffee.
If you’re tired of the “to-do” list growing and the curb appeal shrinking, let’s talk. We’ve seen it all—from the hidden rot to the “how did they even build this?” moments. We’re here to handle the chaos so you don’t have to.
Request a quote today and let’s figure out a timeline that actually works for your life. No pressure, just a real conversation about what your home needs.
Would you like me to create a printable “Pre-Construction Checklist” for you to use when prepping your yard for the crews?